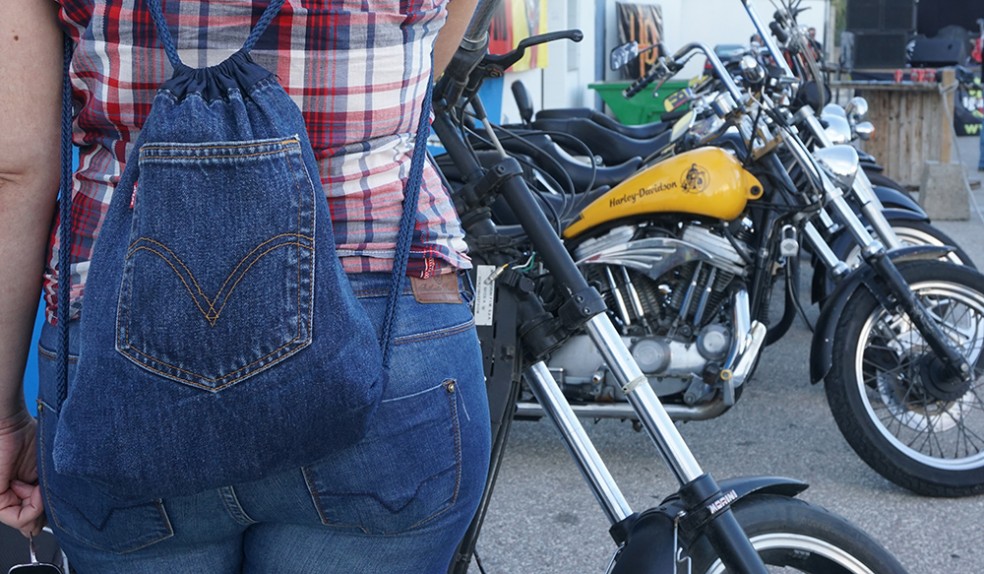
An old pair of jeans became a fantastic backpack. Do you want to know how we did it?
Read this easy tutorial and give these old trousers a second opportunity. Do it yourself, it’s worth it.

Materials
- Some jeans
- Fabric
- Strap
- Thread
- Some neddle
- A pair of scissors
Let’s start
- Cut the two sides of the trousers.
- Cut the waistband.
- Turn it inside out.
- Cut the extra fabric.
- Sew the sides.
- Flip the backpack again.
- Cut two pieces of the blue fabric.
- Make a tube with the fabric and sew it. (Two tubes.)
- Sew the tubes to the backpack.
- Pass the straps into the tubes.
- Check the straps.
- Turn the backpack inside out and put the end of the straps.
- Sew the straps.
- The backpack is all right!
Hope you like it! If you do a backpack using this tutorial, please send us a picture or tagged us on our social media.
Good luck!


Muy buenos tutoriales gracias por subirlos.
Que buenos consejos ,resiclar pantalones mexclilla.
Busco un consejo de las patas de los pantalones de mexclilla , hacer sosten para iPad .
Gracias por sus consejos
Pingback: Inspírate con…mochilas!!! | Con estas mis manitas
Espectacular todo muy bello y prácticamente muy fácil se ve muy bien Felicidades y mil gracias
¡Gracias Hilda!
Buenos dias, por favor explique bien los de los cordones porque en realidad no entiendo como hacerlo,gracias
Hola Nancy, los cordones deben medir lo mismo. Se pasan haciendo como si fueran dos U. Tú cuenta con que lo redondo de la U es lo que cierra arriba en cada lado de la mochila. En cambio los extremos son los que se cosen por dentro en la base de la mochila. Si piensas cómo tienen que cerrar los cordones, la mochila es muy fácil. Imagina cuando estiras los cordones para que quede cerrada y lo entenderás.
:)
Me ha encantado. Gracias por compartirlo.
Hola. Muy bueno el tutorial, pero es posible que indiques las medidas de cada pieza x favor.
Gracias y saludos
Hola, cuántos metros de cordón se necesitan?
7yh12a
xjl8kc
gqkvi4
0tisst
806a4s
nplg39
q6kdrl
bw4aal
0gbxqe
881oci
m7nm8j
8abw59
gw1qtm
3ypnxz
sl4mks
wri3z1
dsqhe9
lnu0nv